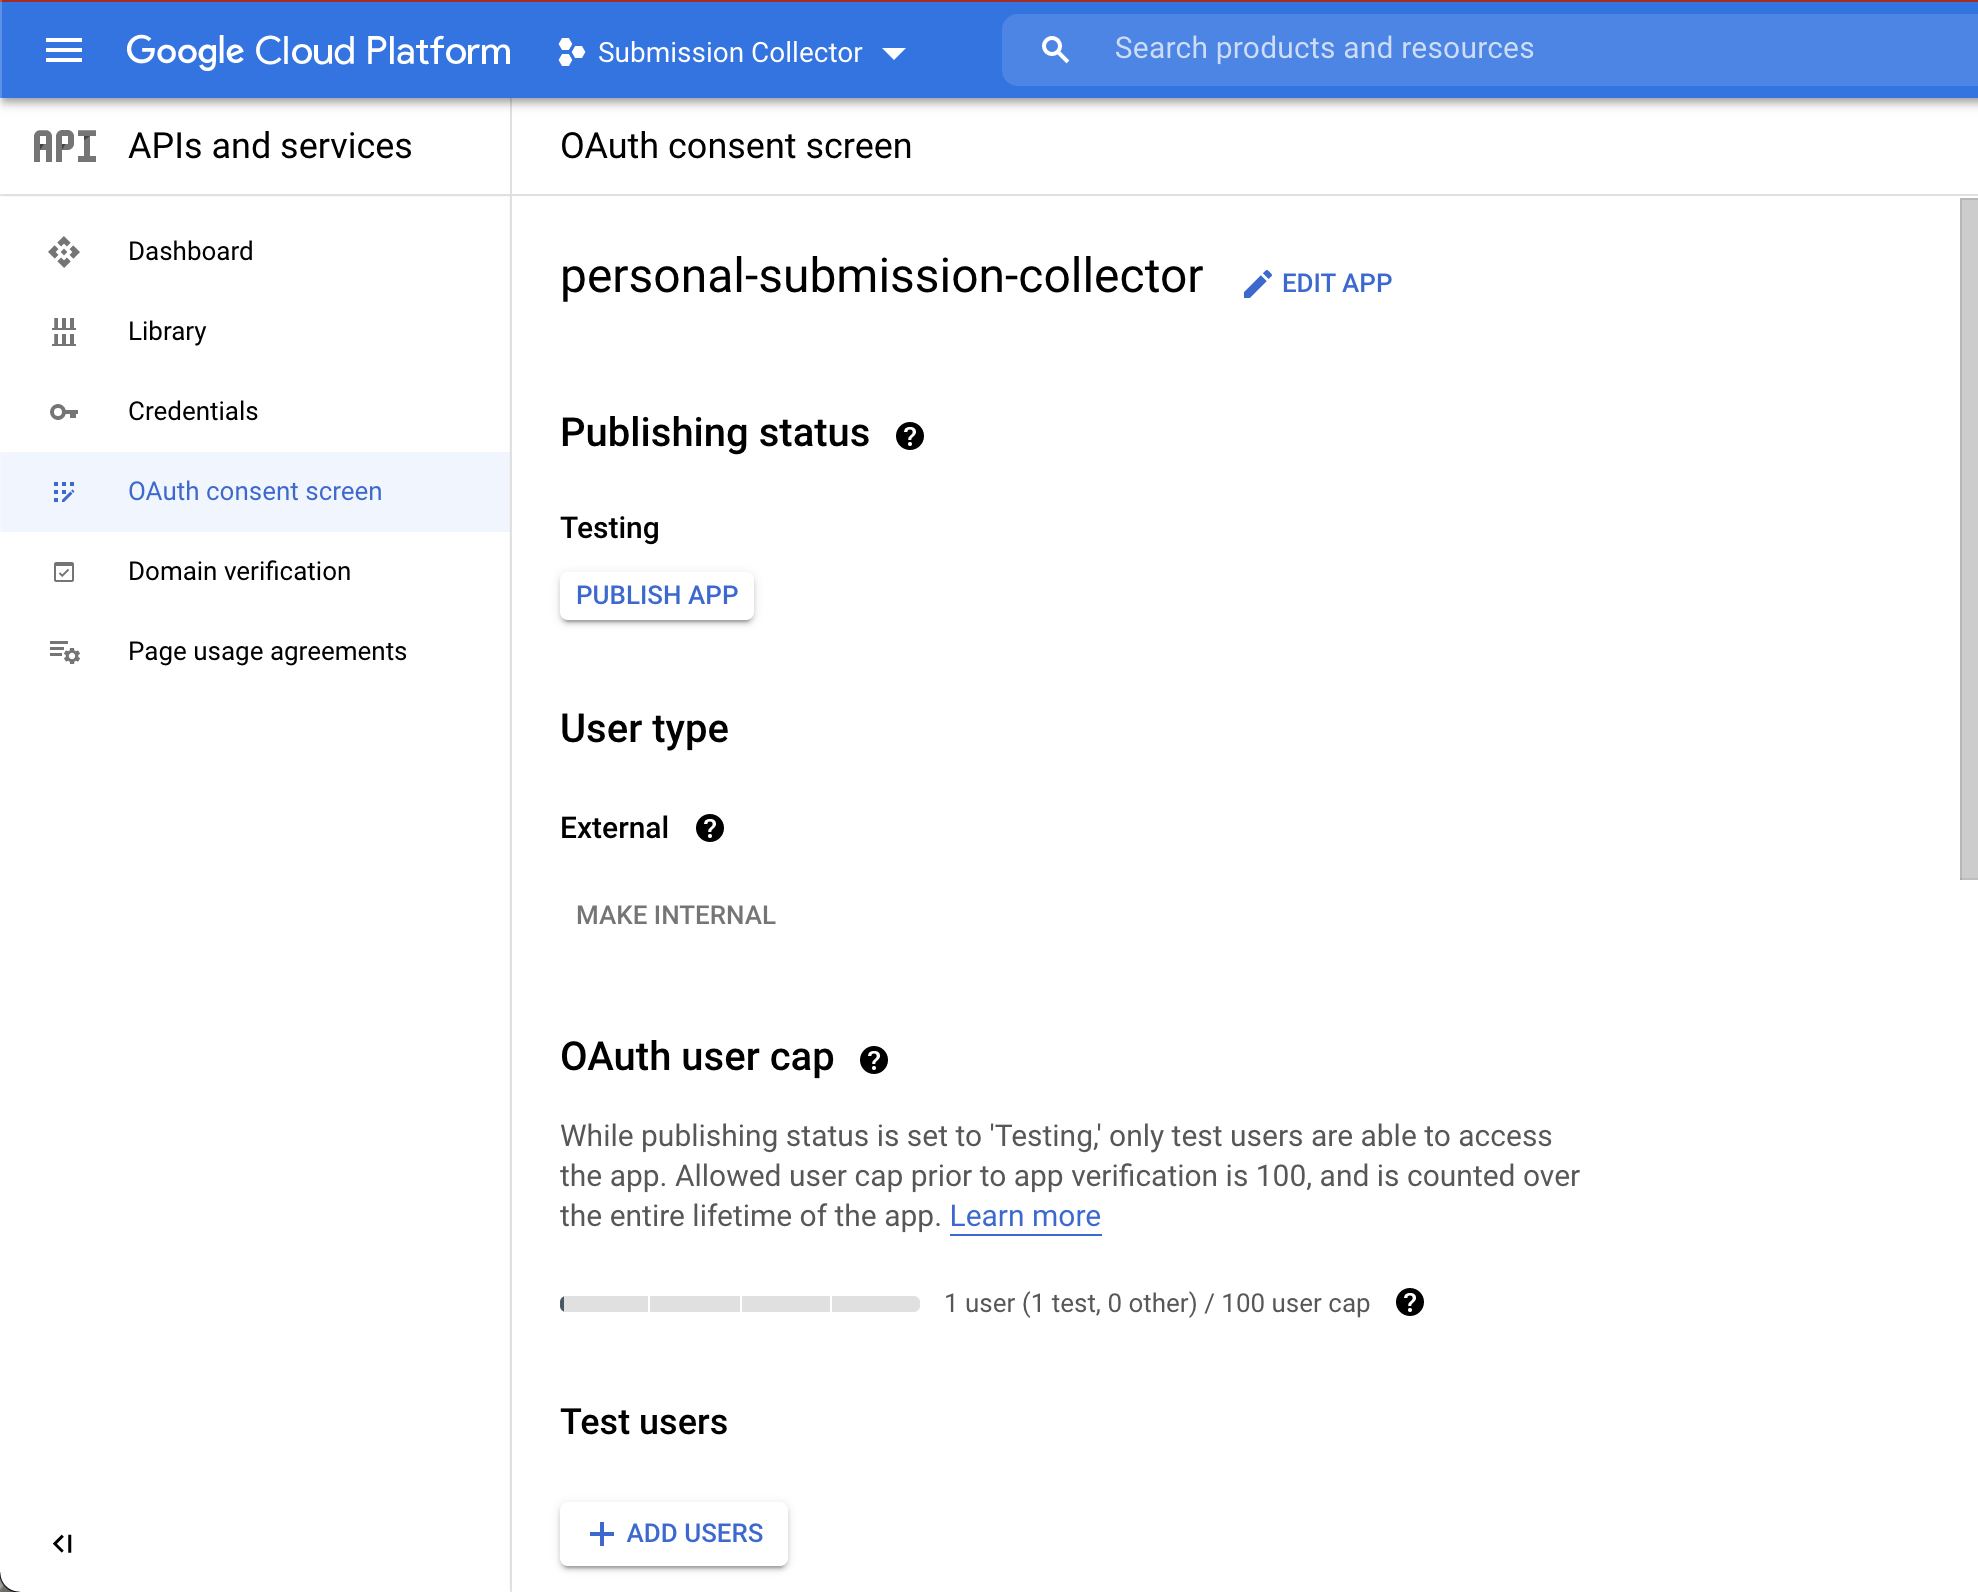
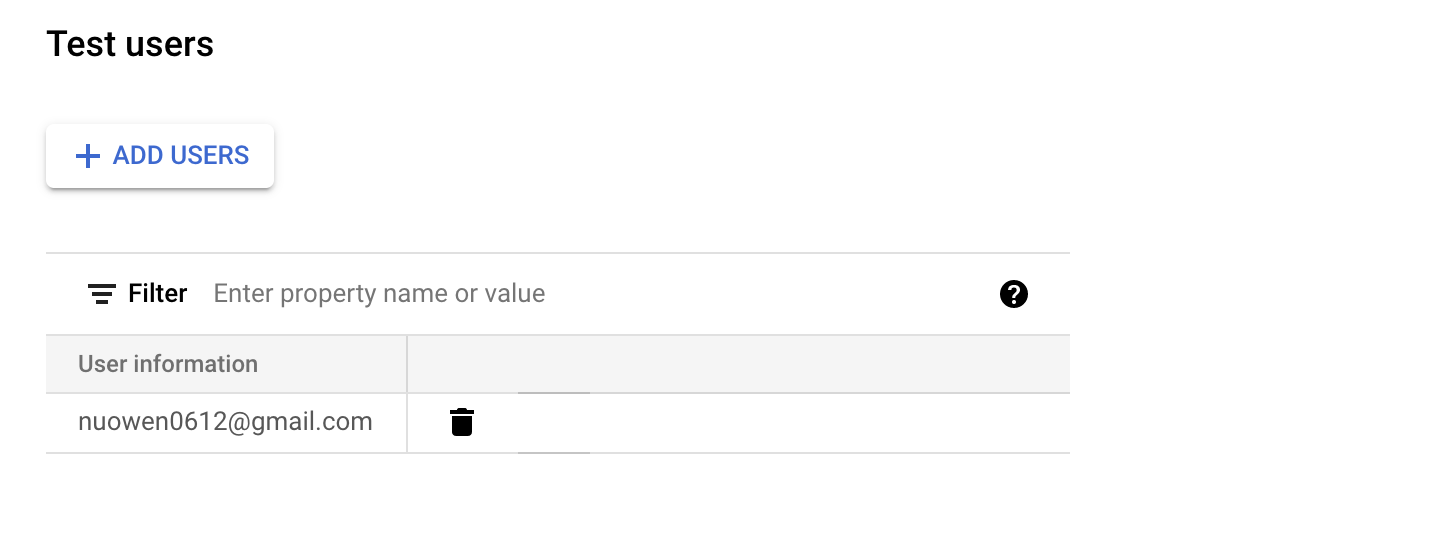
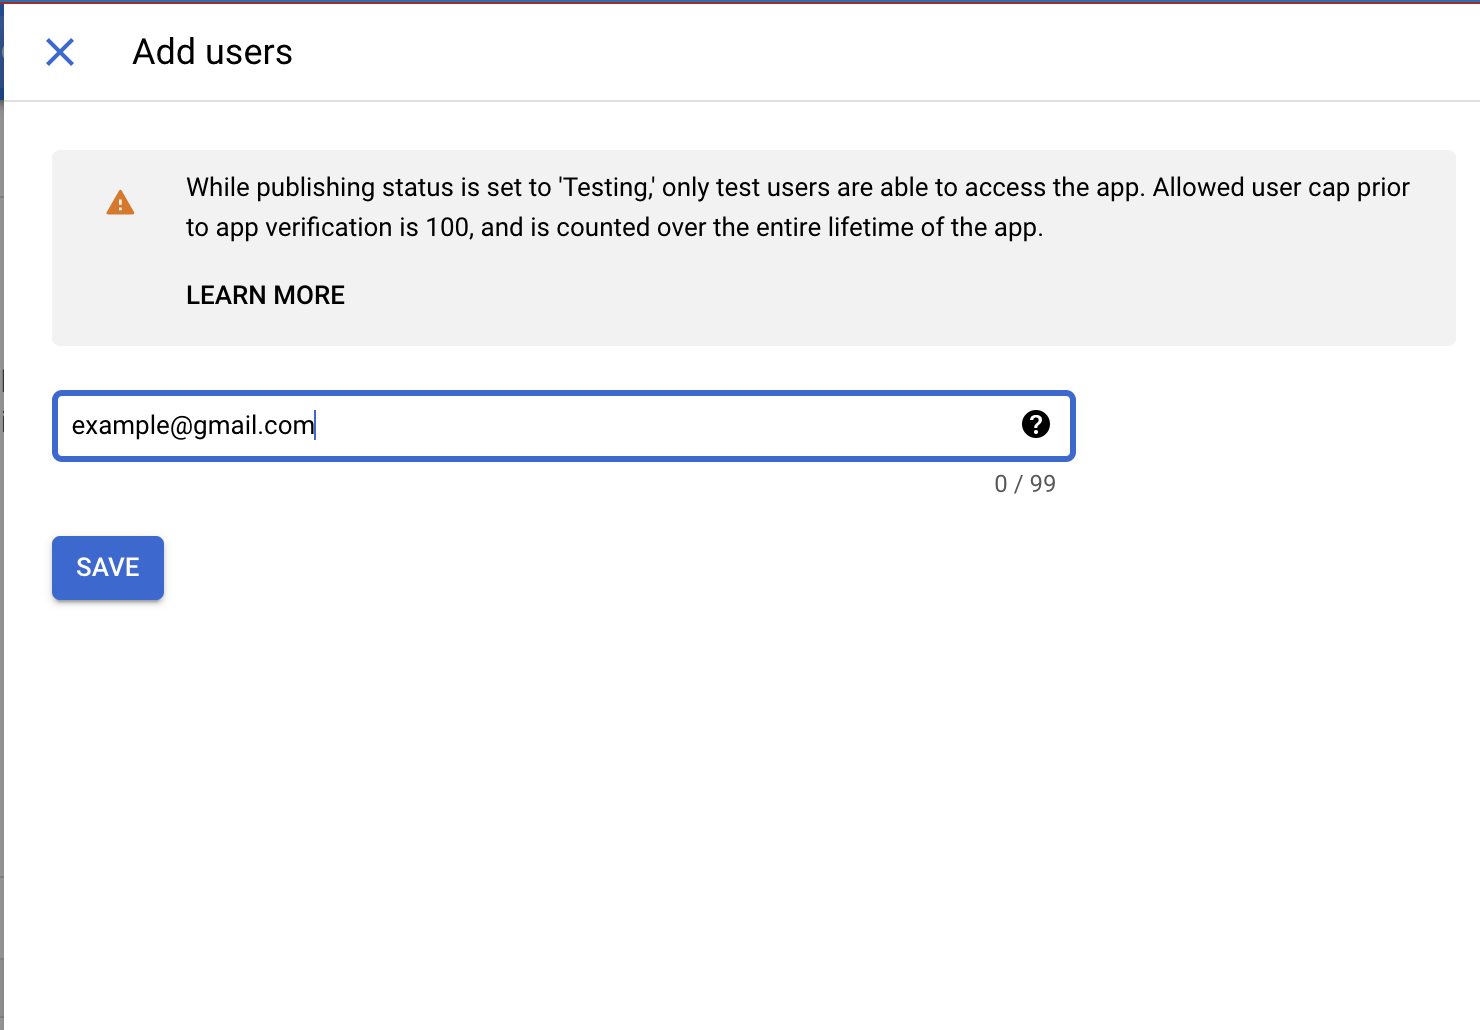
This is a walkthrough on how to set up your own Google OAuth App for Submission Collection with Gmail and Google Drive.
1. Navigate to console.cloud.google.com and login to your cloud console.
Note: It may not be necessary to login if you already logged in to your google account.

2. Click the dropdown that displays the name of your project or “Select a Project”. This takes you to the modal where you will create the project.

3. Click “New Project” on the top right of the modal. It should tell you there is a certain number of projects remaining.

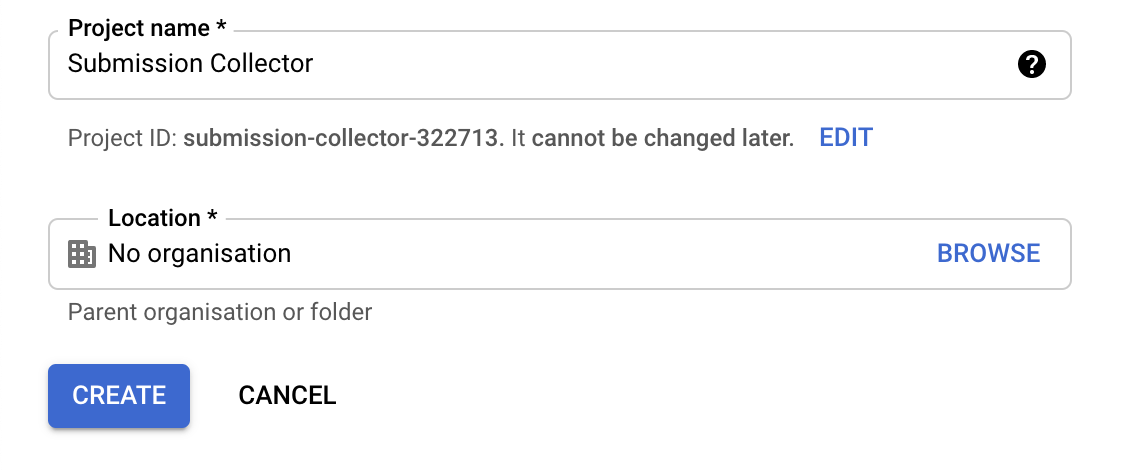
4. Name and Create your project.
We used the name “Submission Collector”, but you can use whatever name you want.
Don’t worry about the Organization Tab.
5. Select the project.
You may use the project dropdown menu from Step 2 to navigate to your new project,
Or click “Select the project” to navigate to your new project.


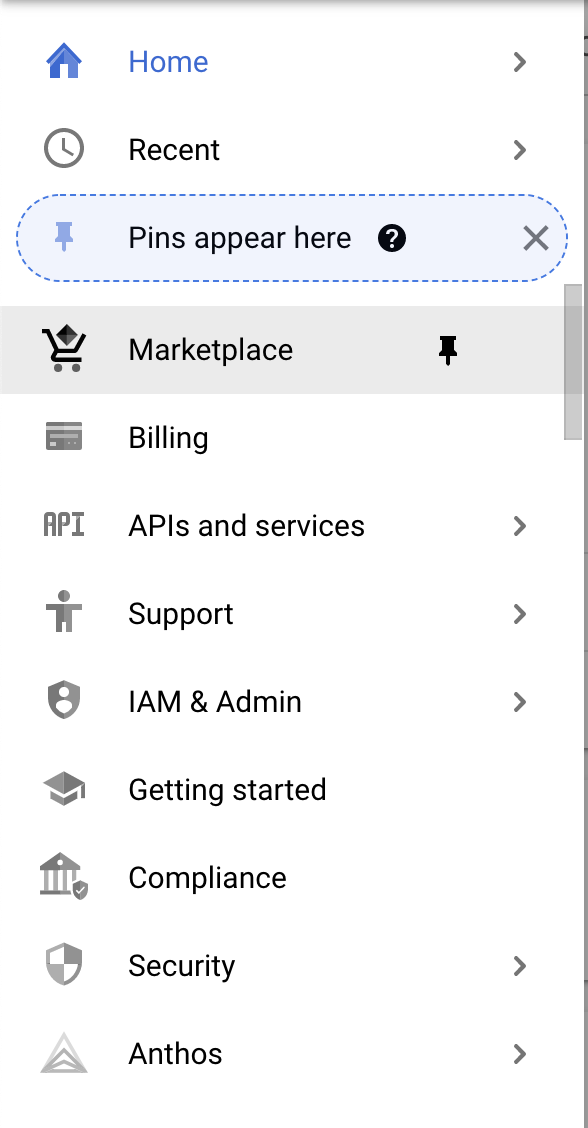
6. Click the triple dash side bar and navigate to “Marketplace”
Note: No payment is needed for this walkthrough or for this project.
7. Search for and Click “Enable” for Gmail API
Search for “Gmail API” in the searchbar.


Click “Enable” to enable the Gmail API in your project.

8. Do the same for Google Drive API
Search for “Google Drive API” in the searchbar.


Click “Enable” to enable the Google Drive API in your project.

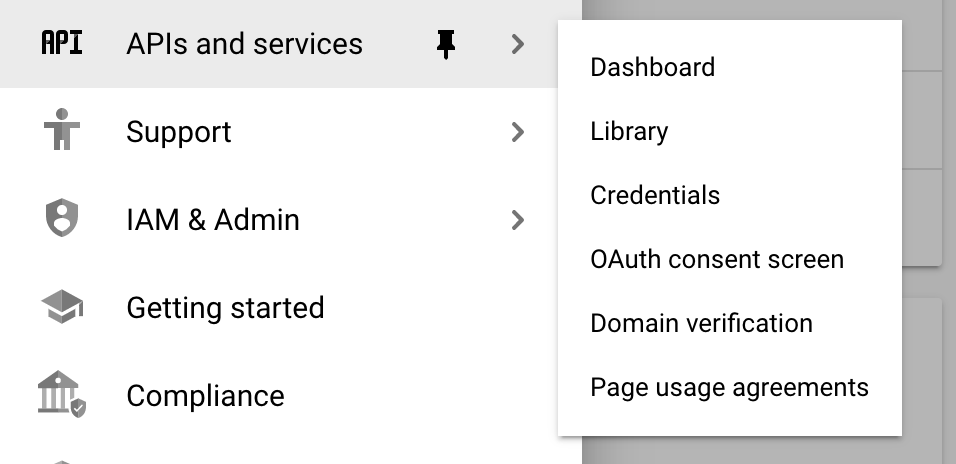
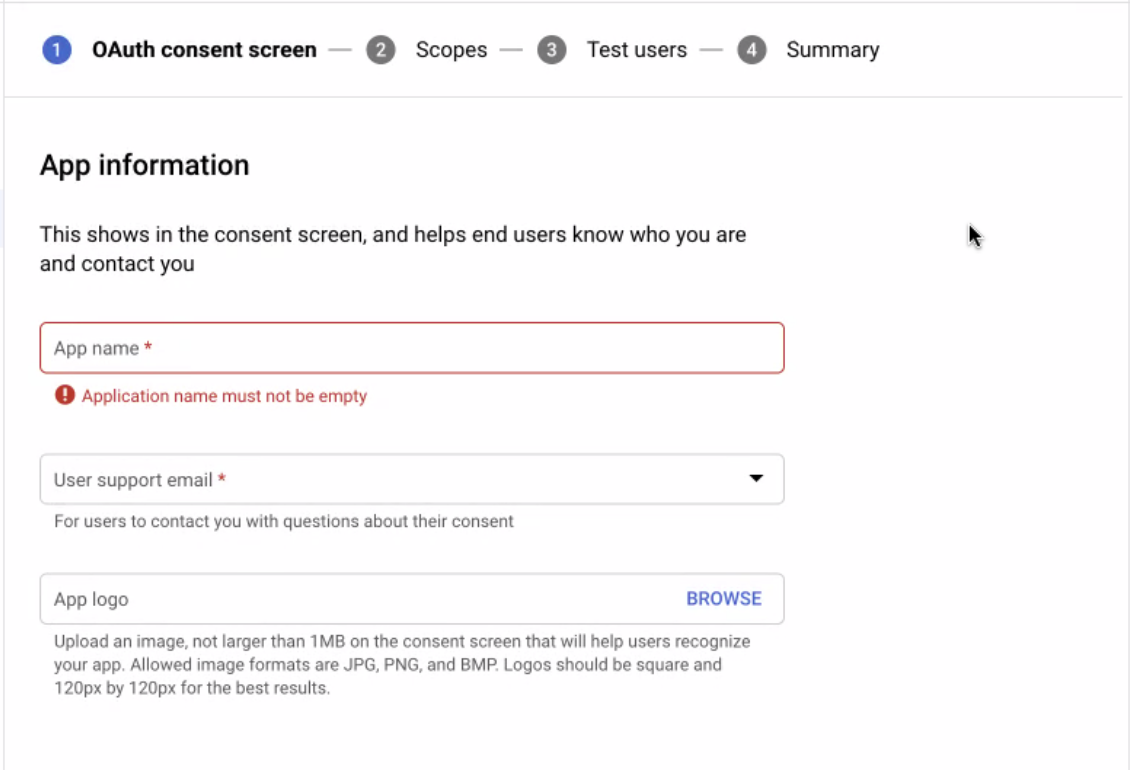
12. Fill out and save the form for the consent screen. You have to fill in all the fields with a red * beside it.
For the “App Name”, we used “personal submission collector” but you can use any name you want.
For the “User Support Email”, select your email from the dropdown menu.
For the “Developer contact information”, fill in your own email.
Click “Select and Continue”
For all the next steps, skip everything and just click “Save and Continue”.
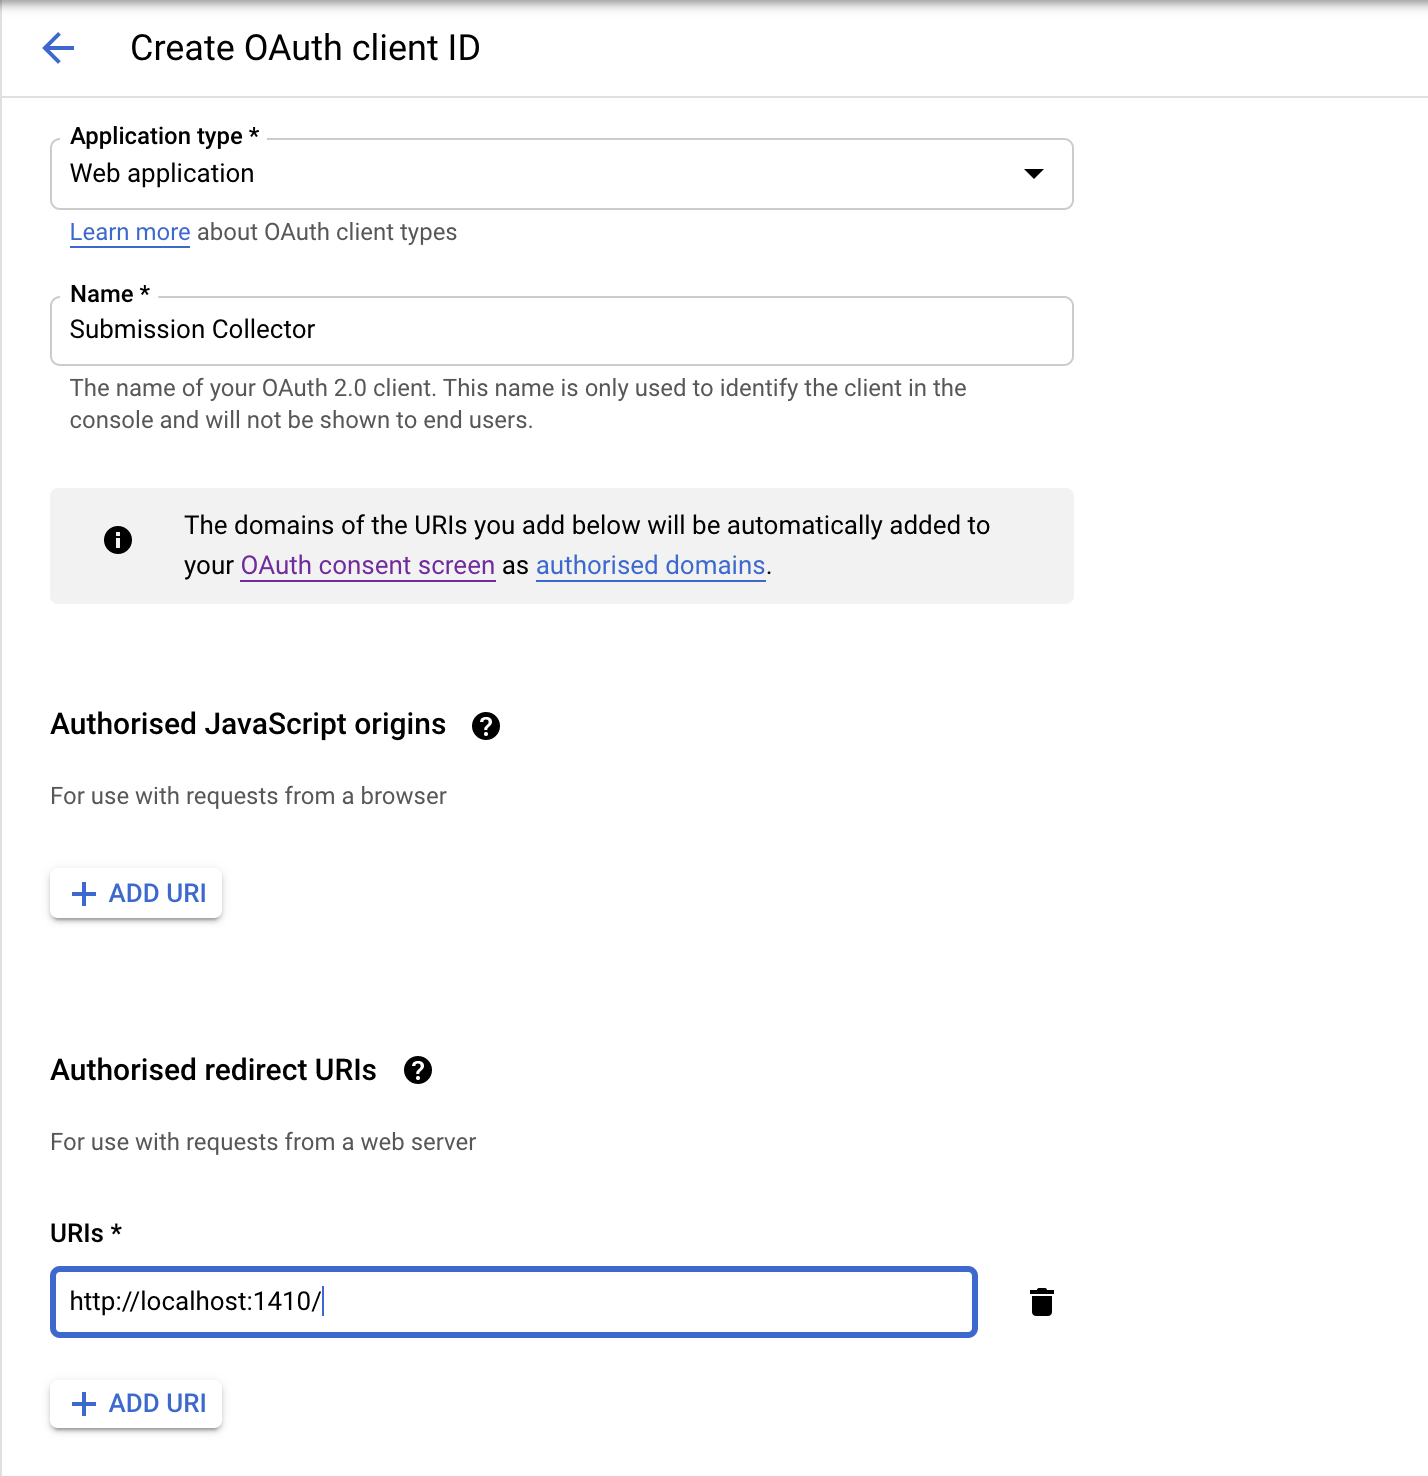
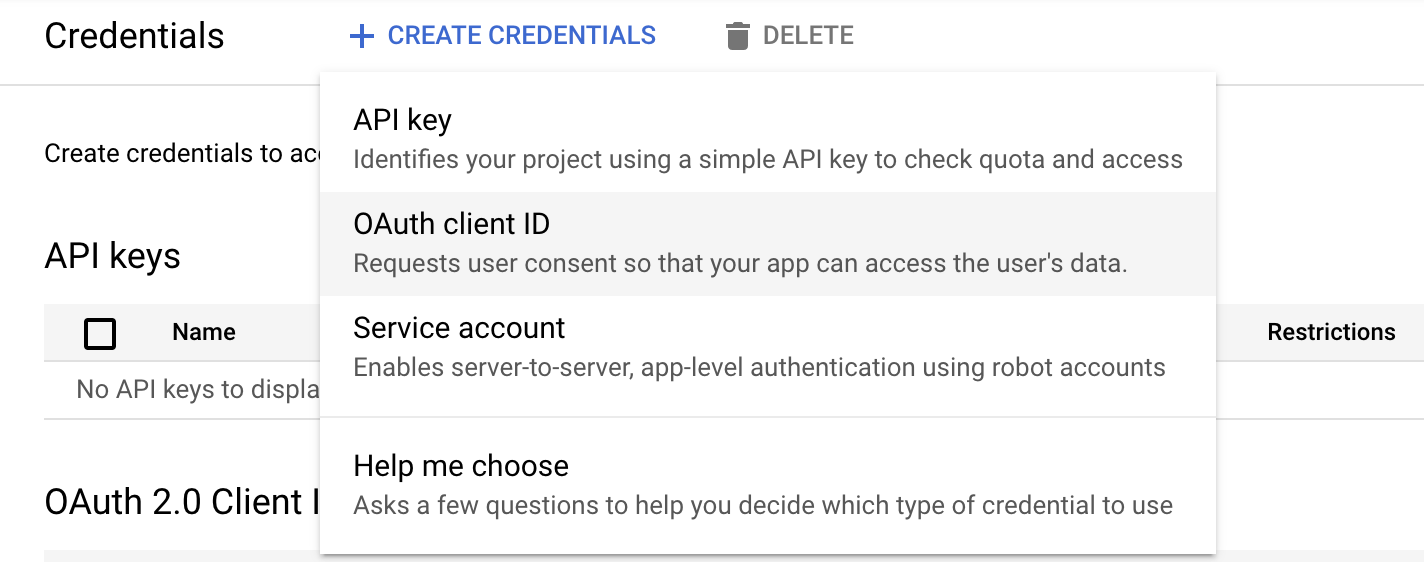
15. Fill out the form as below, you can change the name based on your liking
For the “Redirect URI”, add “http://localhost:1410/”
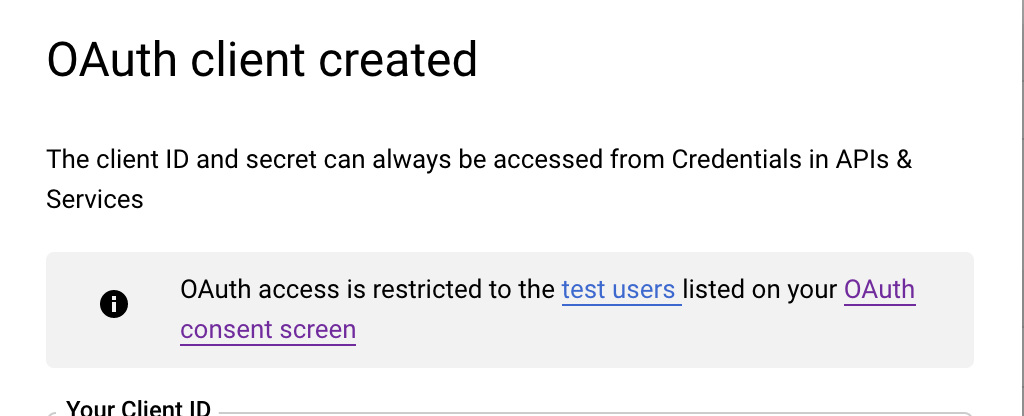
Then click “Create”.
